How can 3D printing help with product development?
How can 3D printing help with product development?
We use 3D printing in our product development process to validate designs quickly, easily and at a low cost. In this blog post we’re going to talk about the three main types of 3D printing we use here at Maker’s Department (FDM, SLS, SLA), and how you can choose which type of 3D printing is best for your project.
FDM
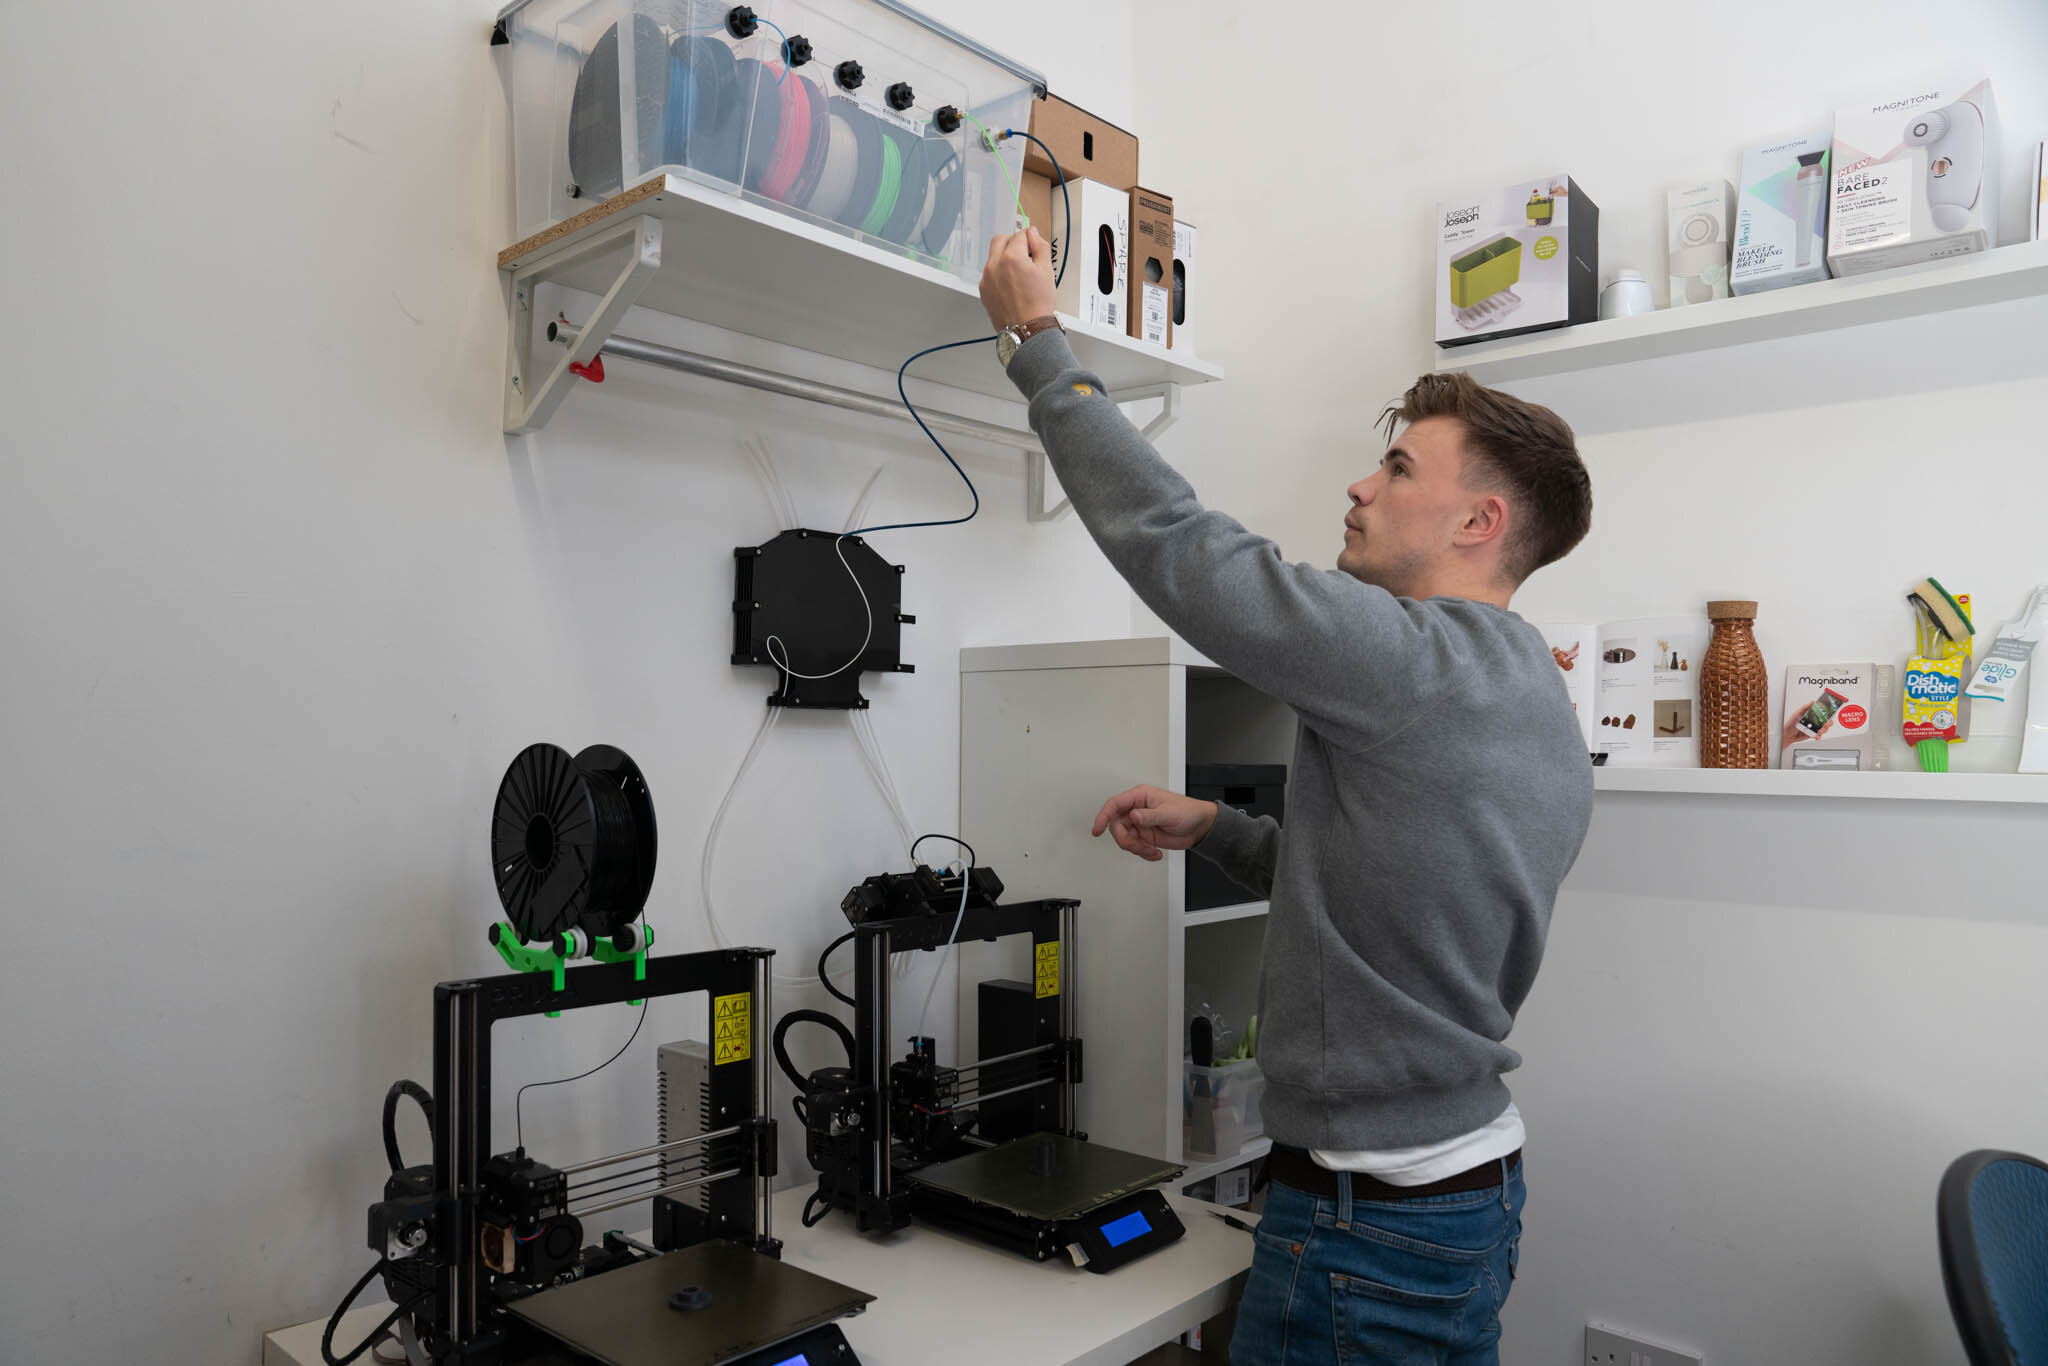
FDM is our go-to here at Maker’s Department, and we have three FDM 3D printers in our studio that are almost constantly in use. FDM printing is perfect for early-stage rapid prototyping and functionality testing at a low cost.
How it works:
Fused deposition modelling (FDM) uses heated filament to create layers that fuse together in a pattern to create an object. Only thermoplastics can be used, as they need to be heated to their melting point in order to print. Materials that can be printed include PLA, ABS, PET, PETG and TPU.

We use these printers to validate designs quickly and confirm that what we’re doing makes sense when it comes to a working product. FDM 3D printers are a great option for individuals and small businesses, as the software and equipment is accessible and affordable.
There are two main elements that we use it for:
to verify fittings and mechanical details
to verify scale and ergonomics
More often than not we print with PLA (bioplastic) filament, although you can also print with ABS, PET, PETG and TPU. All waste material is kept so that it can be reprocessed to create new filament. We generally stick to one type of plastic as this is easier to recycle, and we don’t need to worry about different materials being fused together when sending it for reprocessing.
We also use FDM printing for flexible parts made with TPU filament. This is used to understand how a part that is soft behaves and see what a part feels like rubberised compared to rigid. This is great for early-stage prototyping and proof of concept, but SLS and SLA printing is more suitable for achieving higher accuracy and a higher quality finish.


FDM Hack #1
3D print parts that attach to existing products or off-the-shelf components to achieve a high level of complexity. This is used to validate ideas that would otherwise take a long time and be very difficult to validate.


FDM Hack #2
Create modular prototypes so that you can test variations of the same prototype without having to reprint the full part at each adjustment or iteration. To achieve this we design models to fit metal fasteners such as bolts, nuts and inserts. This is a great way of saving time and resources while in the trial and error process.
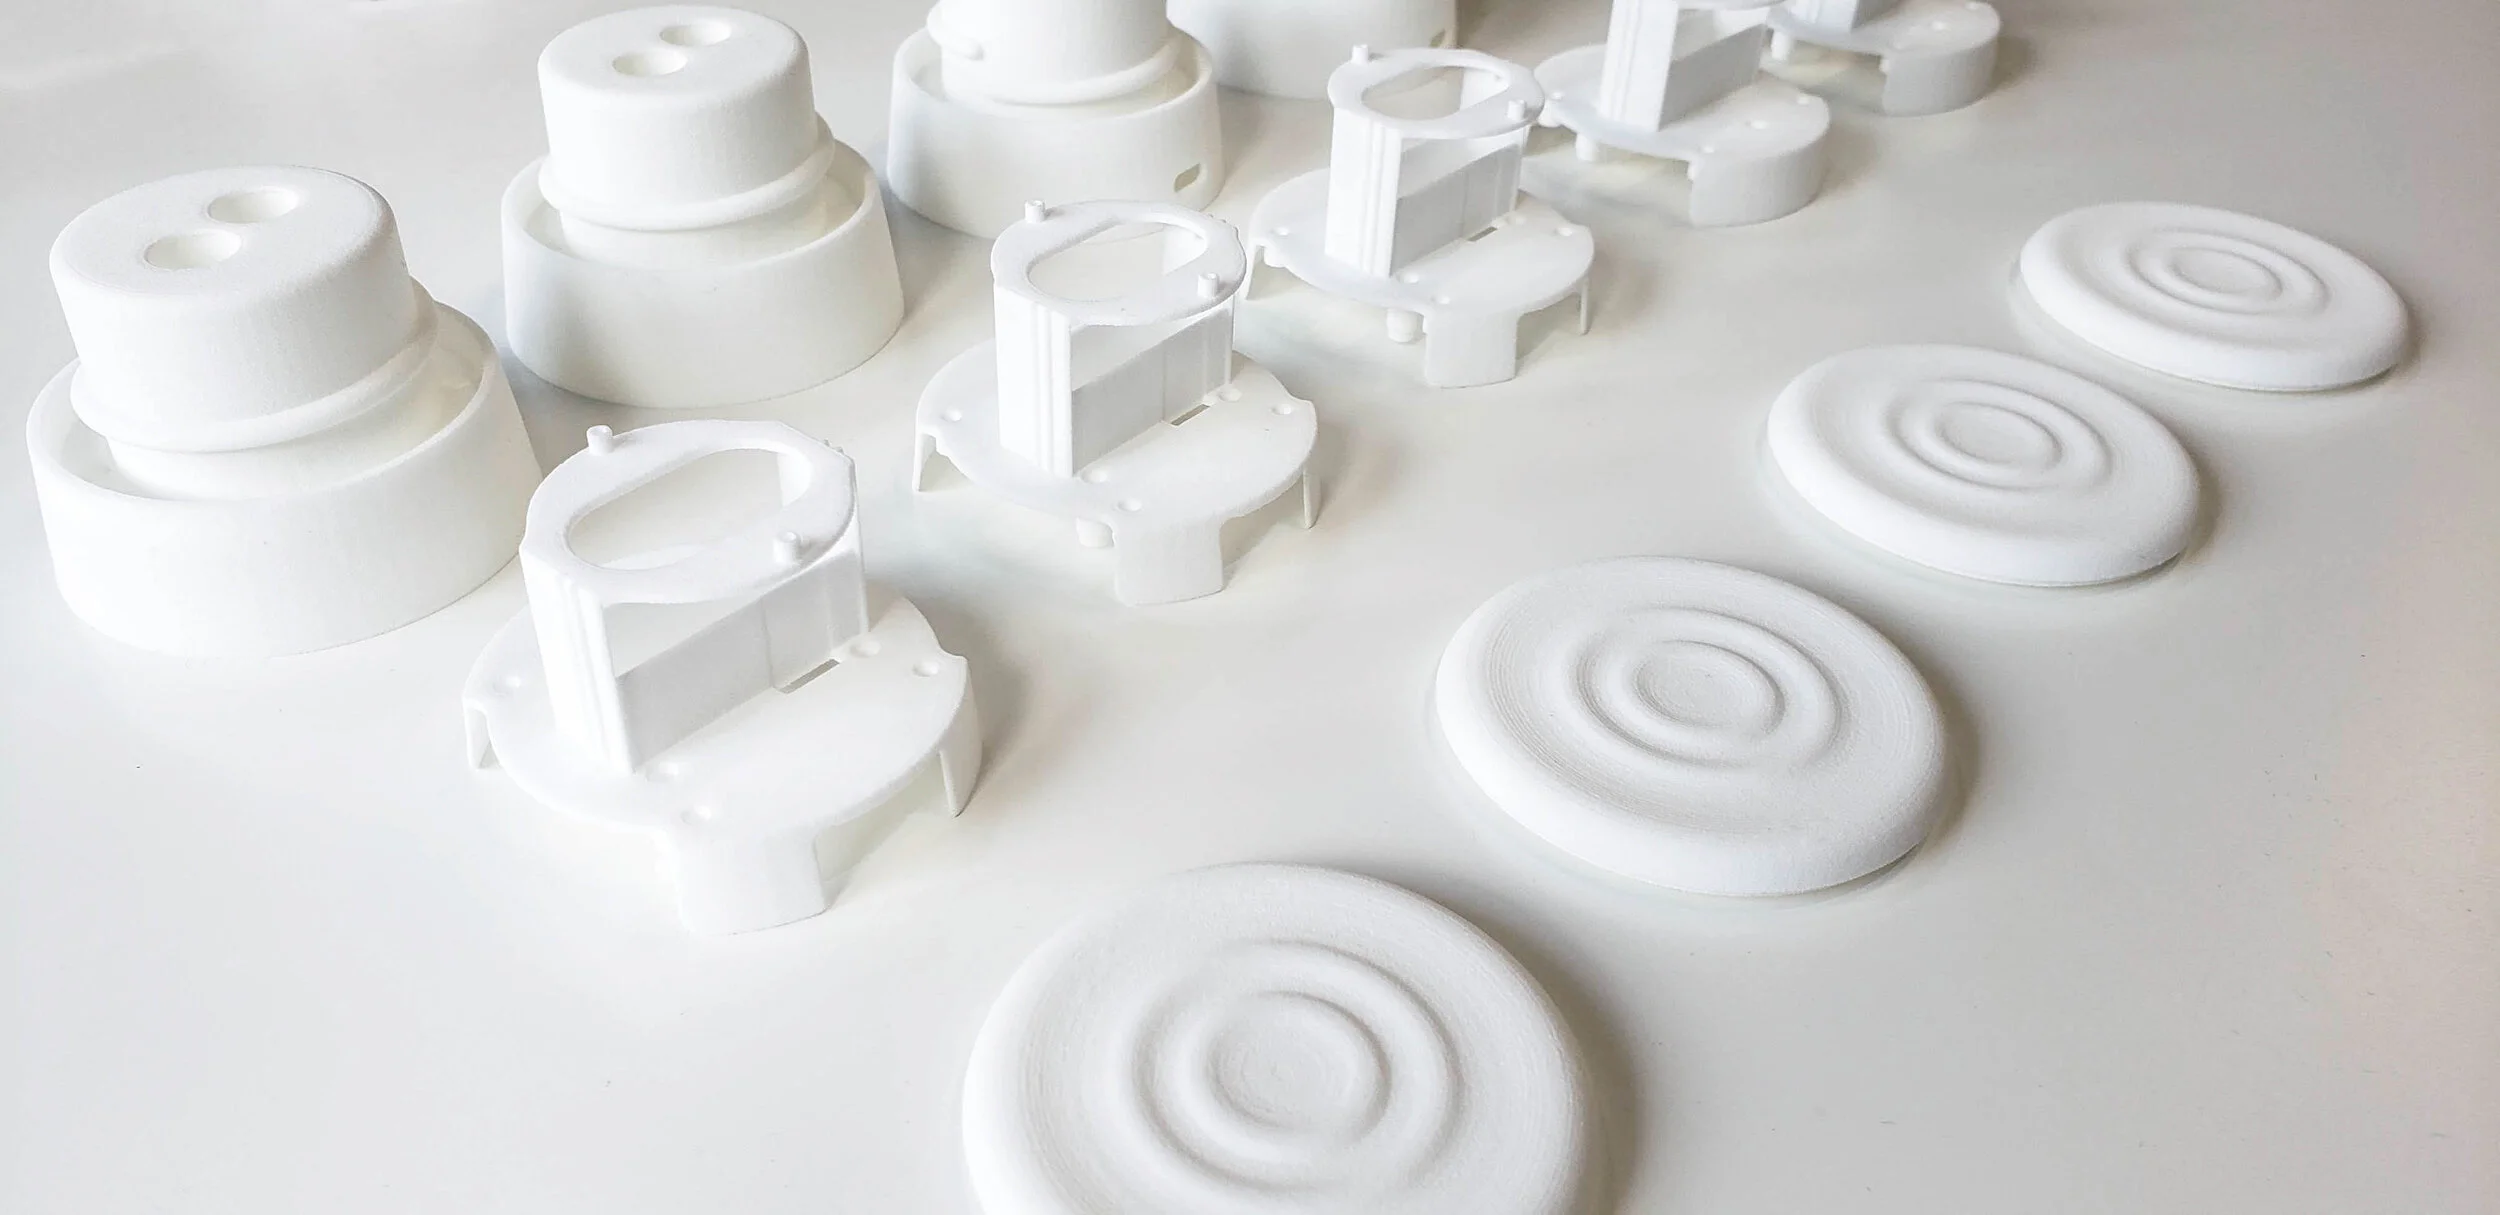
SLS
We outsource SLS prints for more detailed or accurate results . In most cases SLS printing has a much better surface finish and prints to a higher accuracy than FDM. The parts are generally very robust and stable mechanically making it the perfect option for testing if something really works before we commit to expensive tooling.
How it works:
Selective laser sintering (SLS) uses a CO² laser that lightly fuses nylon-based powder, layer by layer, until final thermoplastic parts are created. Materials that can be printed include PA, PP, TPU and nylon. TPU can be used for creating and testing flexible parts as it is strong and mechanically stable, unlike resin-based SLA printed parts which are brittle.

SLS is most suitable for testing properties of a flexible part, whereas SLA has a better surface finish and therefore is better for aesthetic prototypes.

SLS Hack #1
Use TPU to create flexible prototypes to test its mechanical properties. This is a great way to test parts that might be injected moulded in TPU or Silicone. We have used these for many wearable applications where comfort and resilience are important.


SLS Hack #2
Nylon parts are incredibly robust and resilient, which makes them the perfect material to build models like prototypes for extensive user-testing.

SLS Hack #3
Use SLS to create compliant mechanisms. SLS Parts have very little limitations of geometry compared to other processes, which means highly complex parts with mechanical details are possible.


SLS Hack #4
Attach materials together: Roughen surfaces + Prime + Accelerator + Super-Glue
We often need to attach other materials to test parts for extensive user testing. After many trials we arrived at the perfect recipe. This works with many other materials.

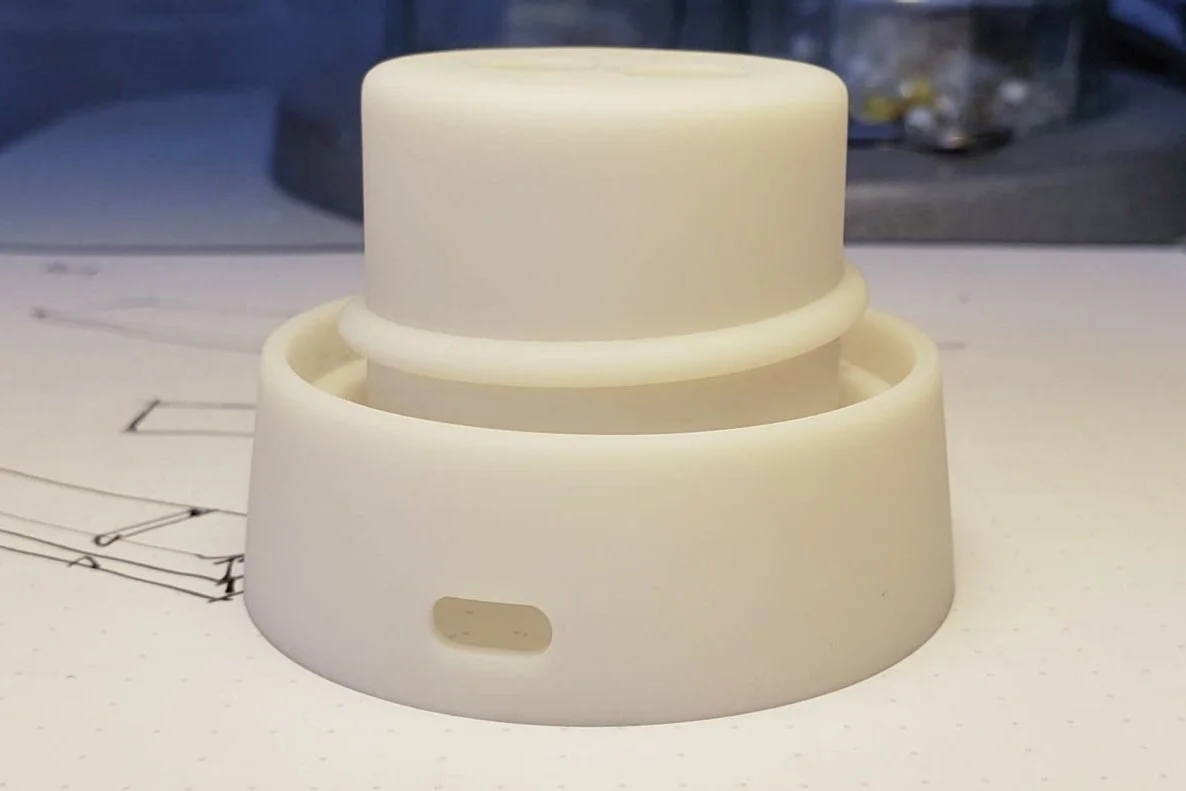
SLA
We use outsourced Pro SLA parts for refined prototyping, especially when extremely smooth surfaces or transparent parts are required. SLA has the highest quality surface finish out of these three 3D printing options, but is also the most expensive, and is therefore used only for final iterations.
There are desktop versions of this technology available, such as the Formlabs. However, we have mainly been working with suppliers that use 3D Systems FABPro, as we find the selection and properties of the resins available to be superior to the desktop versions.
How it works:
Stereolithography (SL) uses an ultraviolet laser that draws on the surface of liquid thermoset resin to create thousands of thin layers until final parts are formed. Materials that can be printed include ABS, PC and silicone.


SLA Hack #1
Using SLA resins means less sanding and priming is required to achieve stunning painted presentation models for photoshoots or product pitching events. Some parts have such smooth surface finishing that we can paint the parts easily in our studio without having to hire professional painting services.


SLA Hack #2
Some resins are optimal to test lens prototypes and test optics applications. Having an SLA printed part produced in transparent resin means that we can control surface finish by polishing and sanding down surfaces to achieve different levels of reflectivity.


SLA Hack #3
Use SLA for testing waterproofing, as the surface is much smoother and less porous than with alternative 3D printing techniques.
Post-Processing
We sometimes use post-processing techniques to finish parts, especially for developed iterations where we want to demonstrate what the final product will look like. We either finish parts in the studio, or outsource it depending on the model requirements.
Finishing in the studio often involves several iterations of filler and sanding, followed by a spray primer and paint. We can finish any type of part apart from transparent or flexible parts, which we outsource. We also prefer to outsource products that require complex surface finishes or have additional requirements, such as adding a logo.

As you can see, 3D printing can be used to print a variety of parts with different properties. It is an incredibly useful tool for testing form factor, size, mechanisms, look and feel and much more! It is important to establish what you want to gain from a 3D print so that you can select the process that is most suitable for the job. For example, if you want a quick, low-fidelity prototype, then FDM would be the perfect choice. If you wanted a high quality surface finish, however, you might opt for SLS or SLA depending on the desired material and budget.
We hope this blog post has given you some insight into these three 3D printing methods and how they can be used in the product development process. Feel free to leave feedback, thoughts or comments below!